This section shows how to do the matching between the part of the
image corresponding to the skin region and the template face.
For the image corresponding to the skin region, we first close the holes
in the region and multiplying this image by the original one. the
development toolkit provides a function to close the holes based on the
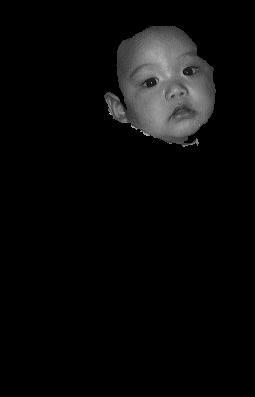
neighboring pixels.In Figure 9, we show the same baby image with
and without the holes, and the product of the image without holes by the
original image.
 |
 |
 |
|
(Middle) The same region without the holes. (Right) Result of the original grayscale image by the image in the middle. |
||
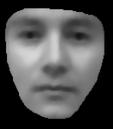
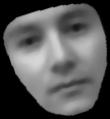
The template face has to be positioned and rotated in the same coordinate as the skin region image. This is done as follows:
 |
 |
|
(Left) Original template face. (Right) Resized according to height and width. |
|
 |
 |
|
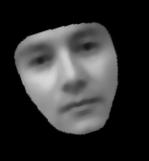
(Left) Rotated template face (Right). The result of cropping the image on the left. |
|
 |
|
|
We then compute the cross-correlation value betweenthe part of the image corresponding to the skin region (Right in Figure 9) and the template face properly proceessed and centered (Figure 11). We empirically determined, from our experiments, that a good threshold value for classifying a region as a face is if the resulting autocorrelation value is greater that 0.6.
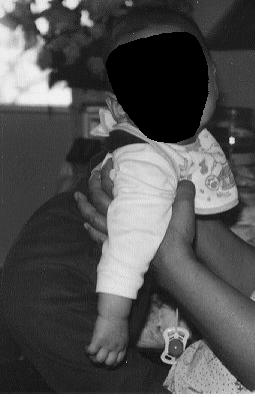
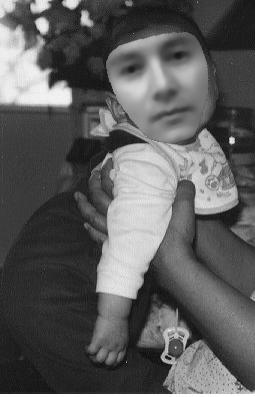
After the system decided that the skin region correspond to a frontal
human face, we get a new image with a hole exactly the size and shape of
that of the processed template face. We then invert the pixel values of
this image to generate a new one, which, multiplied by the original grayscale
image, will yield an image as the original one, but with the template face
located in the selected skin region. This is shown in Figure 13(4), in
which the face of the baby is replaced by the template face.
 |
 |
 |
 |
|
|
As in (1), but inverted |
The previous image is multipled by the original one |
As in (3), but adding the Template face to it. |
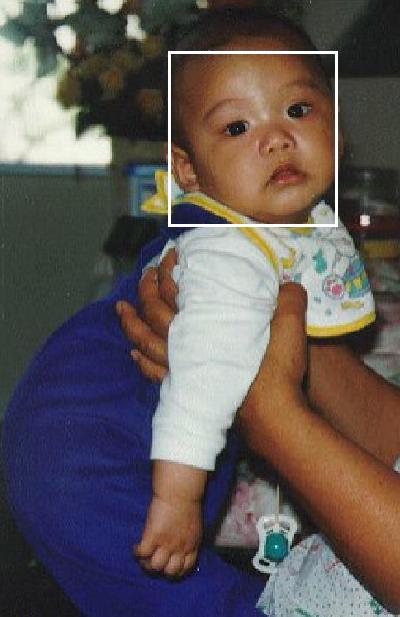
We finally get the coordinates of the part of the image that has the
template face. With these coordinates, we draw a rectangle in the
original color image. This is the output of the system which in this case,
detected the face of the baby as shown in Figure 14.
 |
|
|
We present more results in the next section.
![]()
![]()
![]()
Next: Results and Discussion Previous: Skin Regions Contents: Face Detection