
I live in a big old drafty house, which is hard to heat in the winter. There is a "grand staircase" that leads up to the second floor from the living room, which has its ceiling entirely at the 2nd floor level rather than slanting up, so there's a big space above the stairs, plus large windows at the top. In the winter, it gets very cold next to the windows (double-paned, but still not perfect), and the cold air drops straight down to the living room. This is made worse by "zoned heating", where we run separate furnaces for the first floor and the upper floors; we have the downstairs furnace on during the day when we are hanging out in the living room and kitchen areas, and the upstairs furnace on at night when we are sleeping. Thus, the second floor has a lot more cold air to drop straight down into the first floor and make its furnace work harder.
We have always complained about this, and a few years ago Ken had the idea to put up some plastic sheeting between the living room and the staircase. This is difficult because of the shape of the upstairs and downstairs landings and the openness of the railing; it required many square feet of plastic sheeting, lots of duct tape and staples, and looked like we were living in a construction zone. In fact, sometimes people would say "what are you having built?" when they saw it. But, it worked. During the daytime, the temperature on the staircase side of the sheeting was considerably lower than the temperature on the living room side, and furnace didn't have to run as much to keep it tolerable.
So, we had this dream of having something more permanent and less ugly installed. Every once in a while we would invite some contractor to look at the job, and they always went away shaking their heads, and saying why this was a bad idea or how it could never look good or something else discouraging. Finally, though, we found a contractor who was excited about the idea. He and Ken walked around the staircase waving their arms and pointing at empty space and imagining what could be done.
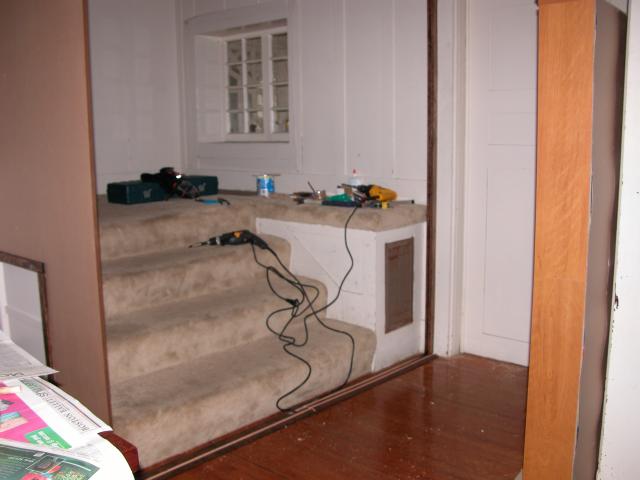
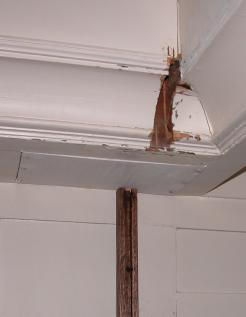
First, we became the proud owners of several sheets of plexiglass, and a lot of wood trim of various shapes. Our contractors set up shop in our garage to shape the trim and cut the plexiglass into appropriate squares and triangles. "Measure twice, cut once." Measure a whole lot times, because this old house is not at all square! There was a lot of cursing and moaning by the contractors, and fortunately they had budgeted for some extra plexiglass, because one sheet got ruined by bad cuts. It seemed like it took them a long time to get started, because the first thing they did was to put up a lot of wood trim as a frame for the plexiglass, and a lot of this trim nailed straight onto existing trim---just making it into a more solid frame. So, for the first few days "nothing happened".
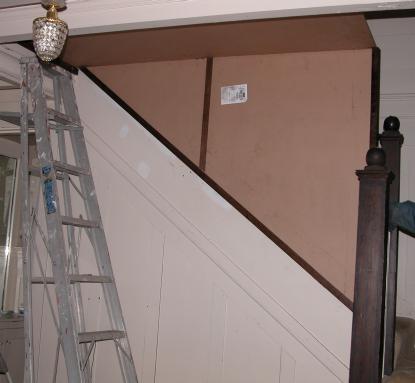
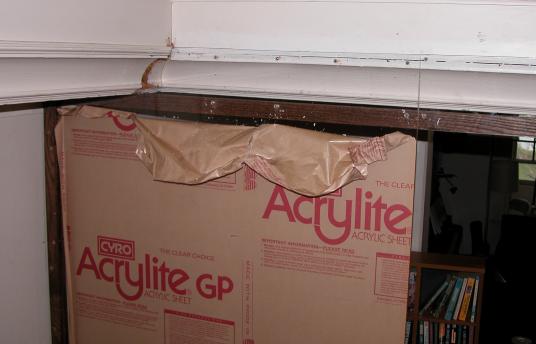
But then it really took shape, with first the plexiglass with its paper covering. We could see why we had chosen a clear material -- the living room is dark and those upper story windows above the staircase account for a lot of its light, which was blocked out by the paper covering over the plexiglass as they put up the first pieces. But then, they peeled off the covering and it was "clear as glass".
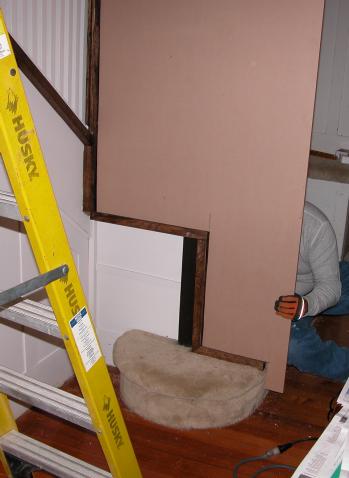
With the old plastic sheeting, our door had simply been parting plastic curtains. With plexiglass we needed to have something more like a sliding glass door. The original handwaving designs had given us a sliding door that spread from the center. But, then actual measurements showed that we really couldn't have such a door. So, after a first failed attempt, which gave us a door that was too narrow, we had the idea of a triple sliding door, which gives enough width to easily bring furniture through, and whose opening better matches the width of the existing stairs, so when you walk up the center of the stairs you don't bang your shoulder on the door. It's not perfect, partly because the house is not square, but also because the rollers are kind of small and cheap, but it's pretty serviceable. In the summer, of course, we just leave the door open, but in the winter we will be having it closed a lot.
It looks a little strange, but mostly it doesn't look like anything, because it's clear, so it doesn't draw the eye like the plastic sheeting did. They matched the color of the existing trim fairly well, so there's just more wood trim around the area.
Now we need to put a cat door in! We also discovered that we need to put stickers of some sort onto the door itself, so that you know it's closed and don't bang your nose. We put some at adult eye level, child high-level, and cat eye level, although I'm not sure if the cats are actually going to understand what's going on :-)
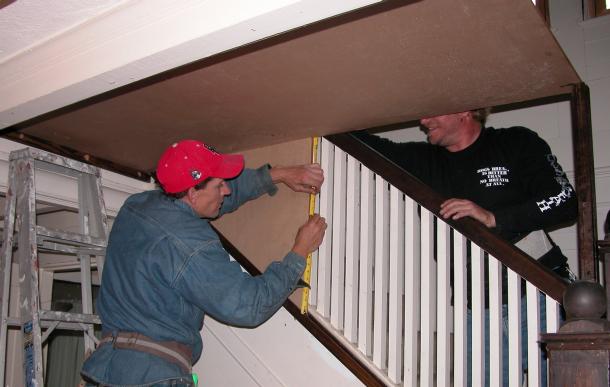
Jim and Joel fit the first triangular piece in.
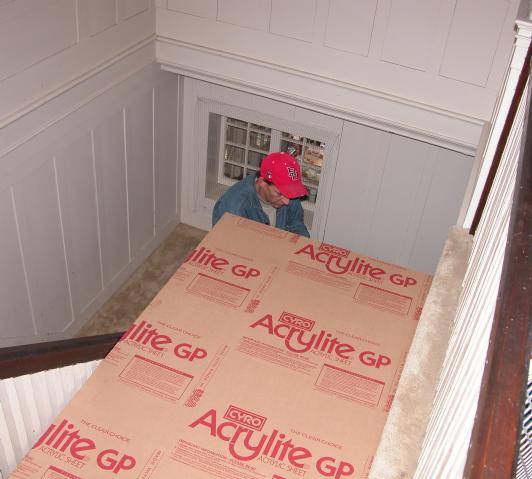
View from the top.
Everything's done but the door!
The fixed-position door piece, but this was the wrong-sized version. You see it fitting into the hole before the painting.
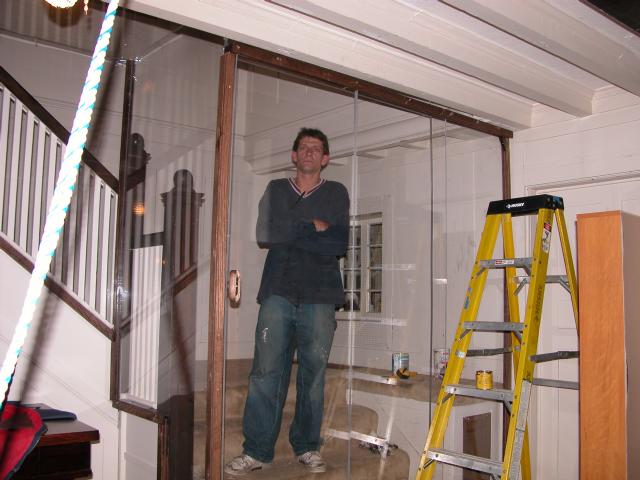
The final three-panel door, with Jim behind it.
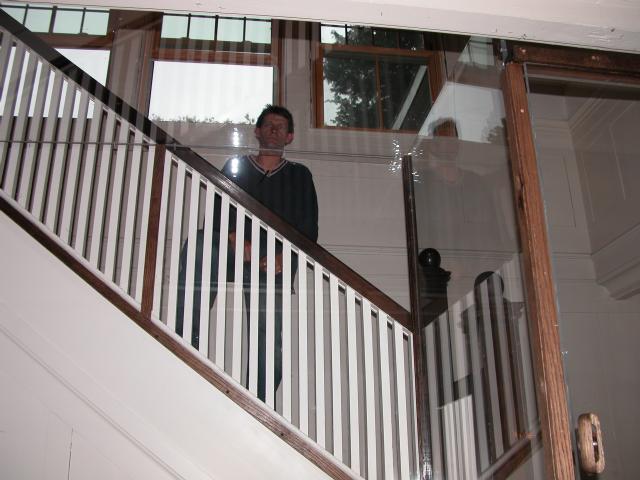
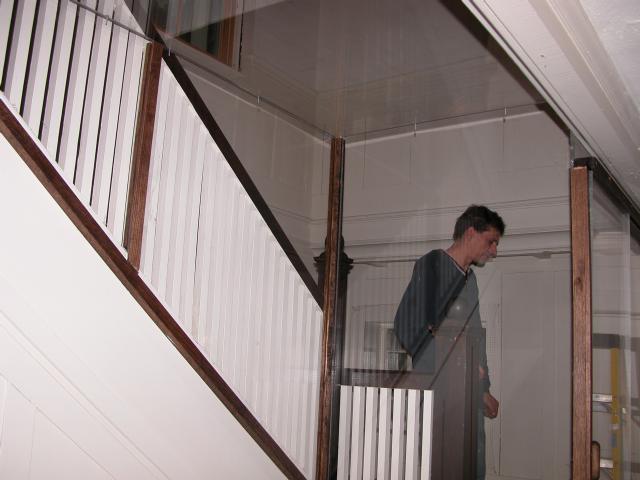
Two views of the finished product, with Jim walking behind the wall.
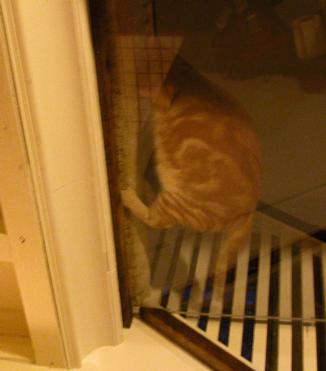
And the cats discovered it. Tawny from below as he gets up from his nap.
There's a solution for this. It's called a "whole house fan". But, because we don't have a real attic, and the crawl space is completely full of blown in insulation, it hasn't made sense to put one in the ceiling like normal humans have. But, once again, we have cathedral ceilings in our staircases. In this case it's the staircase between the second and third floor, which is not in the "grand staircase" style, but has a very high ceiling, with the window near the top. At the very top, there was some blank wall. We thought that we could put a fan at the very tippy top of the wall by the ceiling, and it would suck air through open windows in the second and third floor, blowing out the hot air, and replacing it with the cool of the night.
Again, contractors that we tried to interest in this job laughed at us, or suggested fans whose cubic feet per minute rating was pitiful, or other useless stuff. Our glass wall contractors seemed like they could do the job, if they had guidance as to what fan to get. Ken had done a lot of research on the web to find out things about cubic feet per minute and horsepowers of motors and so forth, and so armed with a shopping list, our contractors sallied forth and bought the right things. What we needed them for was the expertise of how to chop the big hole in the wall, install the fan, and make the house whole again afterwards. The trickiest bit was the fact that the wiring in this house dates back to Edison, and was not up to the required amperage. The ended up asking for a little more money in the end because of the extra labor first troubleshooting and then fishing new wires through the wall from the basement to the roof.
It's a little ugly, but it sure does get the job done!
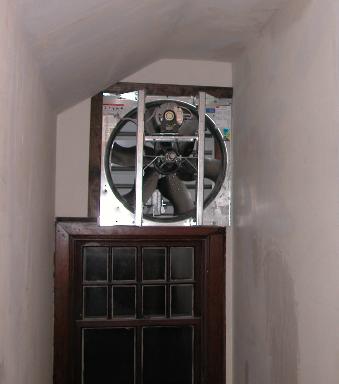
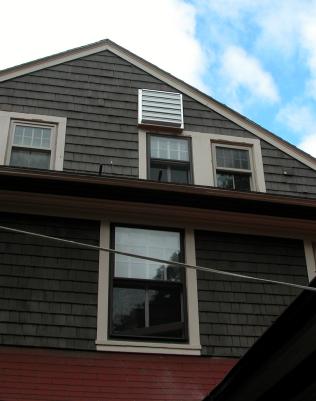
I didn't get any in-process pictures, but only the finished product; here are the indoor and outdoor views. The louvers open when the fan is in operation.